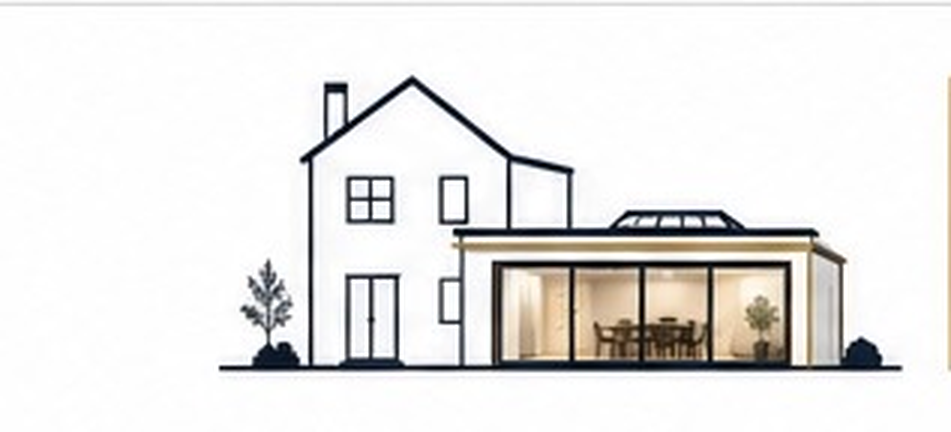
Rear extension design: a practical UK homeowner's guide
Discover practical tips on rear extension design for UK homes. Maximize space and learn about permitted development rights today!
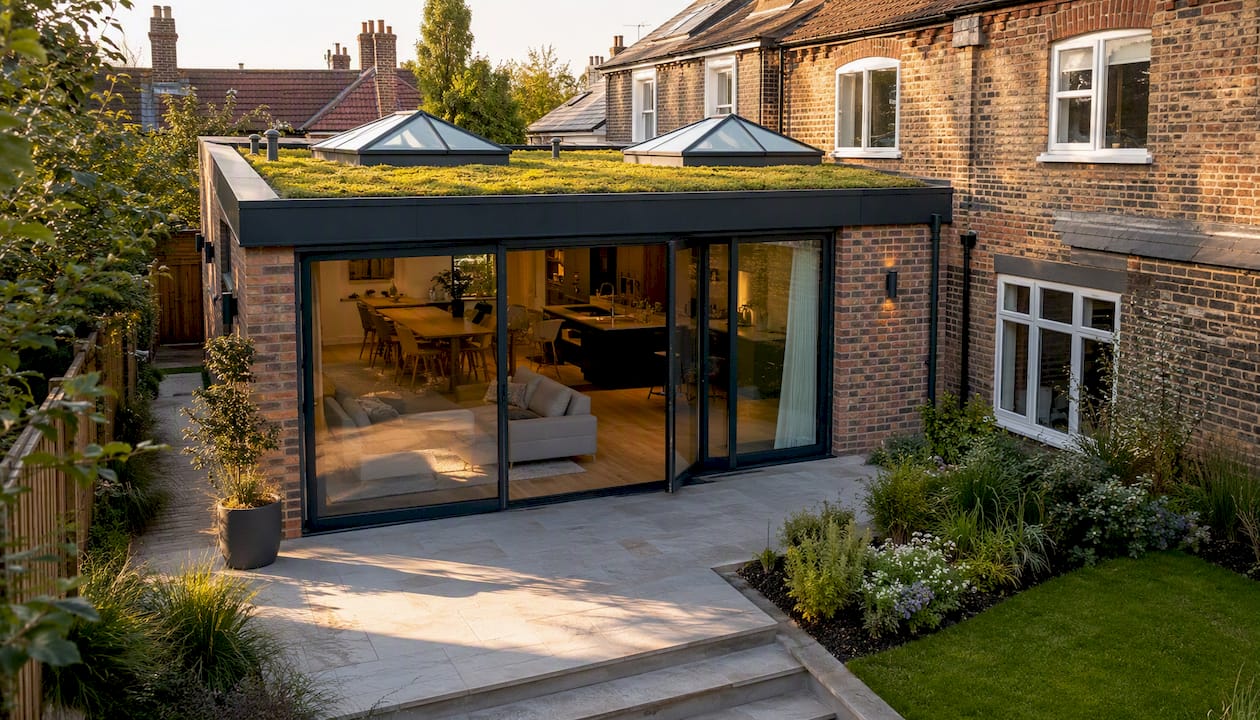
Rear extension design: a practical UK homeowner’s guide
For most UK homes, a single-storey full-width rear extension is the strongest starting point. It works with permitted development rights on the majority of terraced and semi-detached properties, connects directly to the garden, and delivers the ground-floor space most families actually need: a kitchen-diner, family room, or both. If your plot has a narrow side passage, a side-return wraparound often unlocks more usable floor area than a straight rear extension alone.
Two immediate actions before you spend a penny on drawings: check whether your property sits within an Article 4 direction or conservation area (your council’s policies map takes about five minutes to search), and measure the distance from your original rear wall to the boundary. Those two numbers determine whether you can build under automatic permitted development or need prior approval.
- Check permitted development rights and Article 4 status on your council’s policies map
- Measure from the original rear wall to the boundary and note your house type (detached, semi, terraced)
- Sketch the room relationships you want: which spaces connect, where natural light should enter, where services (boiler, soil pipe) currently sit
Pro Tip: Use the prior approval route rather than full planning when your extension exceeds the automatic PD depth (3m for non-detached, 4m for detached) but stays within 6m or 8m respectively. Prior approval is a narrower, faster test focused on neighbour amenity rather than full design policy, and it typically resolves in eight weeks.
Table of Contents
- Is a rear extension the right solution for your home?
- What type of rear extension suits your house and plot?
- Design decisions that define success: roof form, glazing, layout and garden connection
- Practical planning and regulatory checklist for UK homeowners
- How to choose an architect, designer, and builder
- How The Extension Works simplifies single-storey rear extensions
- Key takeaways
- What builders actually see go wrong, and how to avoid it
- Get a fixed price for your rear extension today
- Authoritative sources to check before you start
Is a rear extension the right solution for your home?
A rear extension earns its place when you need better ground-floor circulation, a stronger connection to the garden, or extra family space that a loft conversion simply cannot provide. Lofts add bedrooms; rear extensions add living. That distinction shapes everything.
The household needs that point clearly toward a rear extension:
- You want a proper kitchen-diner with room for a table and bifold doors onto the garden
- The existing kitchen is too small to function as a family hub
- You need a dedicated play or family room that sits adjacent to the main living space
- A utility room or boot room would transform daily life but there is nowhere to put one inside the existing footprint
- You work from home and need a garden-facing studio that feels separate from the main house
A different route is worth considering in certain situations. If you need extra bedrooms, a loft conversion is usually cheaper per square metre and does not eat into the garden. A conservatory or garden room suits temporary or seasonal extra space at lower cost, though neither adds the same value to a property as a properly insulated extension. If your plot is very shallow, your budget is tight, or the property is listed with severe restrictions, internal reconfiguration may deliver more for less.
Quick sanity checks before committing: how much garden depth will remain after the extension? Is the property in a conservation area or listed? Does the party wall sit close to a neighbour’s habitable room? And critically, does your budget cover not just the build but professional fees, building control, and a 10–15% contingency?
What type of rear extension suits your house and plot?
The right typology follows from your house type and your primary objective. A terraced house with a narrow side passage almost always benefits from a side-return or wraparound. A detached house with a generous plot can go deeper on a single storey or add a second storey if extra bedrooms are the goal.
The main types:
- Two-storey rear extension: — Adds ground-floor living space and a first-floor bedroom or bathroom above. Requires full planning permission in most cases. Higher cost, but the per-square-metre figure is lower than two separate builds.
| Type | Relative cost | Planning complexity | Daylight impact | Garden loss |
|---|---|---|---|---|
| Single-storey full-width | Low–medium | Low (often PD) | High potential | Moderate |
| Side-return | Medium | Low–medium | High (transforms dark kitchens) | Low |
| Wraparound | Medium–high | Medium | Very high | Moderate |
| Two-storey | High | High (usually full planning) | Medium | Moderate |
| Prefab/modular | Low–medium | Low (often PD) | Low–medium | Low |
Prefabricated or modular builds make sense when speed matters, when the budget is tight, or when the homeowner wants a reversible structure. They are not the right solution when you need the extension to feel like part of the original house, because the connection between a modular pod and a Victorian terrace rarely convinces.
Design decisions that define success: roof form, glazing, layout and garden connection
Glazing strategy and roof choice determine how a rear extension feels more than any finish or fitting. Get those two right and the rest follows. Get them wrong and no amount of expensive tile or bespoke joinery will fix a dark, oppressive room.
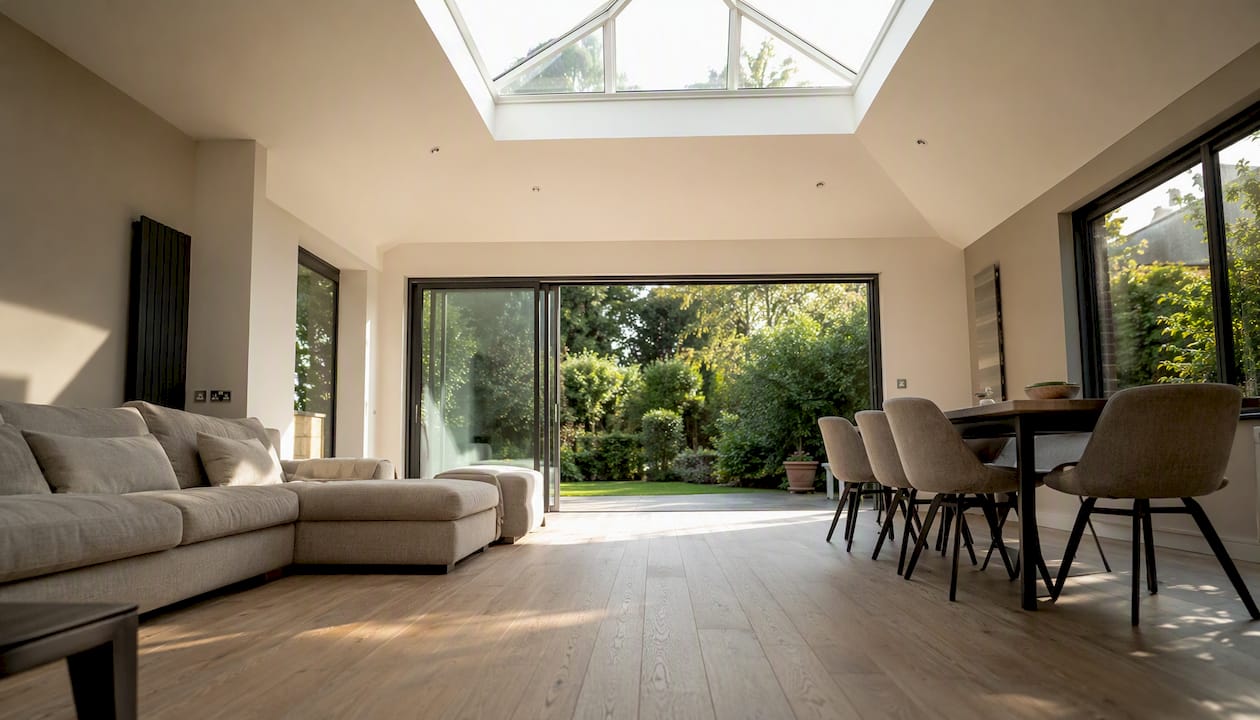
Roof types and when to use them
A flat roof with a central lantern is the workhorse of single-storey rear extension design. The lantern drops daylight into the middle of a deep plan where wall glazing cannot reach. It suits extensions wider than 4m or deeper than 4m, where the centre of the room would otherwise feel dim.
A pitched or mono-pitch roof reads more traditionally and can match the existing house better from the street. It works well on shallower extensions where the ridge height stays within PD limits, and on properties in conservation areas where a flat roof would attract objection.
Double-height glazed gables create drama and a strong garden connection but require full planning permission and careful overheating management. Approved Document O now requires designers to consider overheating risk in new residential spaces, particularly those with large south- or west-facing glazing.
Glazing options
The choice between bifold and sliding doors is worth thinking through carefully. Bifold doors fold back completely and create a wide, unobstructed opening, but the folded panels stack to one side and reduce the usable wall when open. Sliding doors keep a slimmer frame visible at all times but offer a cleaner, more contemporary look and better weather sealing on exposed plots.
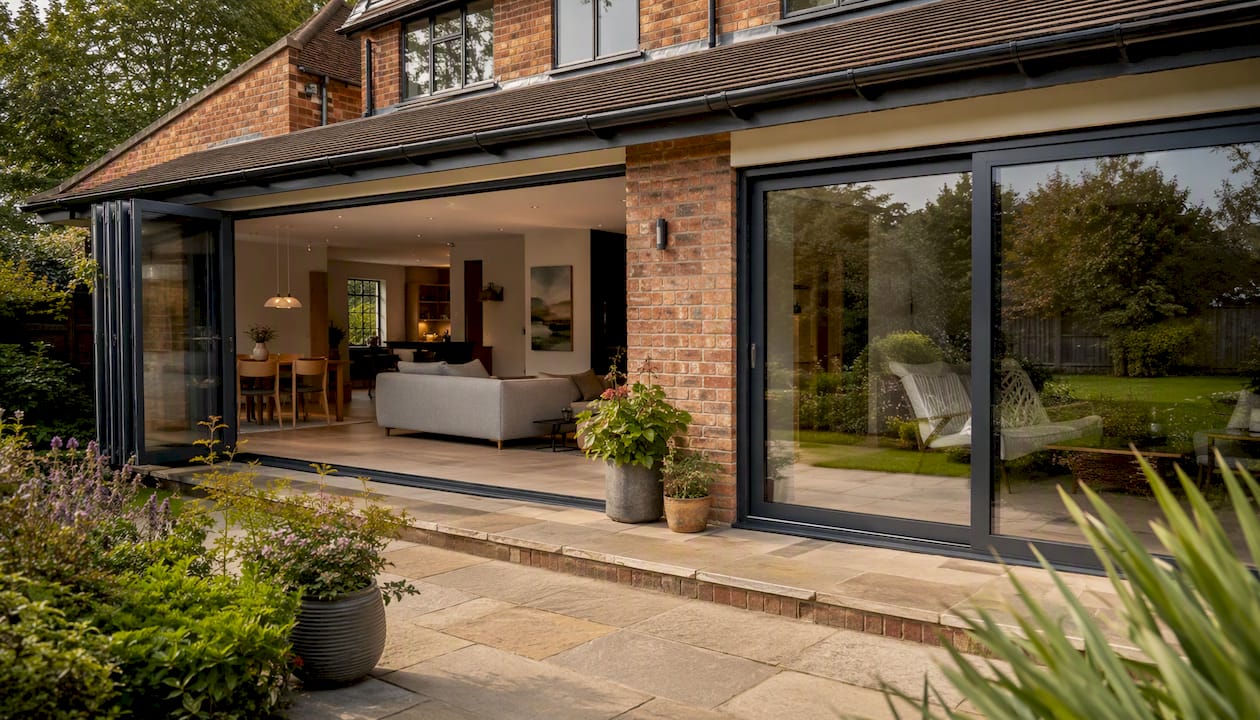
Full-height slim-frame glazing on the rear elevation maximises the visual connection to the garden. Roof lights above a kitchen run add diffuse daylight that reduces the need for artificial lighting during the day. For smaller extensions, a single large fixed pane flanked by narrow openable lights often delivers better thermal performance than a full bifold run.
Pro Tip: A roof lantern should be at least 20% of the floor area it serves to make a meaningful difference to daylight levels. Below that, it reads as decorative rather than functional. For islands, allow a minimum 900mm clearance on each working side; 1,050mm is more comfortable with two people cooking.
Internal layout and materials
Width beats depth for usable space. A 5m-wide extension at 3.5m deep feels more generous than a 3m-wide extension at 6m deep, because the wider plan allows a proper island, a dining table, and circulation without the room feeling like a corridor.
Position services early. Moving a soil pipe or boiler mid-design adds cost and delay. The same applies to mechanical, electrical, and plumbing coordination: decisions about underfloor heating, extract ventilation, and electrical consumer units need to happen at design stage, not during the build.
On materials: matching the existing brick is the safest choice for PD compliance and neighbourhood fit, but a deliberate contrast in timber cladding or render can look considered rather than incongruous when the detail is handled well. Low-carbon options such as cross-laminated timber (CLT) frames, hempcrete infill panels, and recycled-content insulation are increasingly available from UK suppliers and add genuine sustainability credentials without a significant cost premium on smaller extensions.
Practical planning and regulatory checklist for UK homeowners
Most single-storey rear extensions can be built under permitted development without a full planning application, but the conditions are specific and the exceptions are real. The GPDO 2015 is the statutory basis for PD rights; the technical guidance on GOV.UK explains how to measure and apply the limits.
Permitted development limits
| House type | Automatic PD depth | Prior approval depth | Max eaves height | Max overall height |
|---|---|---|---|---|
| Detached | 4m from original rear wall | Up to 8m | 3m (within 2m of boundary) | 4m |
| Semi/terraced | 3m from original rear wall | Up to 6m | 3m (within 2m of boundary) | 4m |
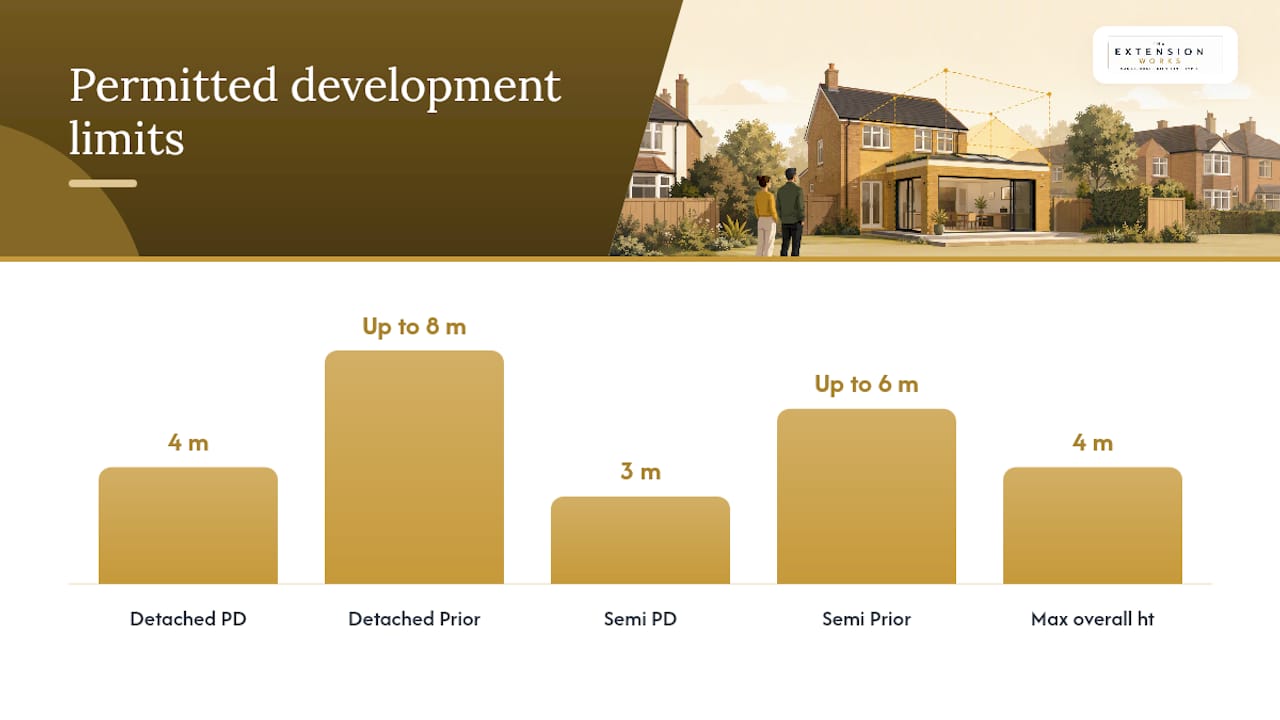
These limits apply to the original house footprint, not any previous extension. Materials must be similar in appearance to the existing house. No raised platforms or balconies are permitted under PD. The Planning Portal sets out the full conditions clearly.
Local checks to run before you draw anything
- Drain survey: Before any excavation, a drain survey identifies existing drainage runs that could affect foundation design and cost.
Building Regulations
Every rear extension requires Building Regulations approval regardless of whether it needs planning permission. You can submit a Full Plans application (recommended for extensions, as it gives you approved drawings before work starts) or a Building Notice (faster but riskier, as issues are found on site). The Approved Documents cover structure (Part A), energy efficiency (Part L), ventilation (Part F), overheating (Part O), and drainage (Part H), among others.
Under CDM 2015, the homeowner is the client and carries legal responsibilities for site safety. HSE guidance on construction explains what those duties involve and how to appoint competent contractors.
Pro Tip: A Certificate of Lawful Development (CLD) is not legally required for a PD extension, but it is worth getting. It costs around £206 in England, creates a formal record that the extension was lawful, and protects you at the point of sale. A pre-application discussion with your Local Planning Authority (LPA) costs a small fee but can save thousands by catching objections before you commission full drawings.
How to choose an architect, designer, and builder
The first decision is whether you need a traditional architect, a technical designer, or a design-and-build contractor. A traditional architect gives you independent design advice and can manage the tender process, but you then manage two separate contracts (design and build). A technical designer is cheaper and sufficient for straightforward single-storey extensions. A design-and-build contractor like The Extension Works combines both under one contract, which removes the coordination risk and gives you a single point of accountability.
Steps for procuring professionals:
- Write a brief: room sizes, budget, timeline, and any planning constraints you have already identified
- Shortlist three candidates from personal recommendations, RIBA Find an Architect, or the Federation of Master Builders
- Interview each: ask the questions below and request two references from recent comparable projects
- Check references directly, not via email; ask specifically about programme adherence and how disputes were handled
- Agree a contract: use a standard form (JCT Minor Works or similar) and confirm what is and is not included in the price
Questions to ask in interviews:
- How do you handle planning applications, and what is your track record with prior approval?
- Is the price fixed or open-book, and what triggers a variation?
- Who manages the structural engineer and building control submissions?
- What warranty do you provide on workmanship, and is it backed by insurance?
- Can you show me a project of similar size and complexity that you completed in the last 18 months?
Red flags to watch for:
- No references from recent projects, or references who are reluctant to speak in detail
- A quote that excludes structural engineer, building control, or party wall costs without saying so
- Vague scope: “kitchen extension, all in” with no specification attached
- No mention of CDM responsibilities or site safety plan
- Pressure to sign before you have seen a contract
For a deeper look at managing the build phase, The Extension Works publishes a practical guide to extension project management that covers programme, procurement, and site oversight.
How The Extension Works simplifies single-storey rear extensions
The Extension Works offers an end-to-end service that takes a homeowner from an instant online quote to a completed, warranted extension under a single fixed-price contract. The process runs: instant quote with live 3D modelling, architectural drawings and structural calculations, planning permission handling (PD, prior approval, or full planning), building control submissions, construction managed by an in-house team, and a 12-month workmanship warranty on completion.
Concrete trust signals:
- Fixed VAT-inclusive pricing agreed before work starts, with no hidden variations for standard scope
- Live 3D modelling at quote stage so you see the extension before committing
- In-house team covering design, planning, and build under one contract
- 12-month workmanship warranty, backed by the company’s registration details verifiable on Companies House
- Project gallery showing completed rear extensions with before-and-after photography
- Published planning guidance and cost resources on the blog
What this model removes for homeowners: the need to manage separate contracts with an architect, structural engineer, and builder; the risk of scope gaps between those parties; and the uncertainty of open-book pricing. One contract, one team, one price.
The planning guidance on The Extension Works blog covers PD checks, prior approval, and local authority processes in detail, and the instant quote tool lets you price a rear extension online in minutes.
Key takeaways
Good rear extension design starts with glazing and roof choice, then layout, then finishes — in that order.
| Point | Details |
|---|---|
| Start with PD and plot checks | Confirm Article 4 status and measure from the original rear wall before commissioning any drawings. |
| Glazing and roof form come first | Lantern, roof lights, and door type determine daylight and feel more than any finish or fitting. |
| Budget for the full project | Add professional fees, building control, party wall, and a 10–15% contingency to the build cost. |
| Use prior approval for deeper extensions | Extensions beyond automatic PD limits (3m/4m) but within 6m/8m can use the faster prior approval route. |
| The Extension Works | Offers instant quotes, live 3D modelling, and a fixed VAT-inclusive price covering design through build. |
What builders actually see go wrong, and how to avoid it
The single most common problem on rear extension projects is not planning or budget. It is late decisions on services. Homeowners finalise the layout, approve the drawings, and then change the boiler position or add underfloor heating after the slab is poured. That sequence costs real money and delays the programme by weeks.
The second most common issue is insufficient daylight in the middle of a deep plan. A 5m-deep extension with glazing only at the rear wall will have a dim centre unless a lantern or roof lights are designed in from the start. Retrofitting a lantern after the roof is built is expensive and structurally disruptive.
My honest advice: spend the first design meeting mapping services and daylight, not finishes. Agree where the boiler, soil pipe, and consumer unit go before the architect draws anything else. And hold 10% of your budget back as contingency. Not because something will definitely go wrong, but because something almost always does, and the homeowners who handle it calmly are the ones who planned for it.
Get a fixed price for your rear extension today
The Extension Works gives you a fixed VAT-inclusive price for a single-storey rear extension, covering everything from the first 3D model to the final sign-off, with no separate contracts to manage and no surprise variations on standard scope.
The service covers:
- Instant online quote with live 3D modelling so you see the design before committing
- Architectural drawings, structural calculations, and planning permission handling
- Building Regulations submissions and in-house build management
- 12-month workmanship warranty on completion
Browse the project gallery to see completed rear extensions, then use the instant quote tool to price your extension online in minutes.
Authoritative sources to check before you start
- Planning Portal — Planning permission: extensions
- legislation.gov.uk — The Town and Country Planning (General Permitted Development) (England) Order 2015
- Permitted development rights for householders: technical guidance — GOV.UK
- Building regulations approval — GOV.UK
- Approved documents — GOV.UK
- HSE — Construction
- Federation of Master Builders — Two‑storey extension costs
- Rear extension planning: UK rules and local guide 2026 — The Extension Works