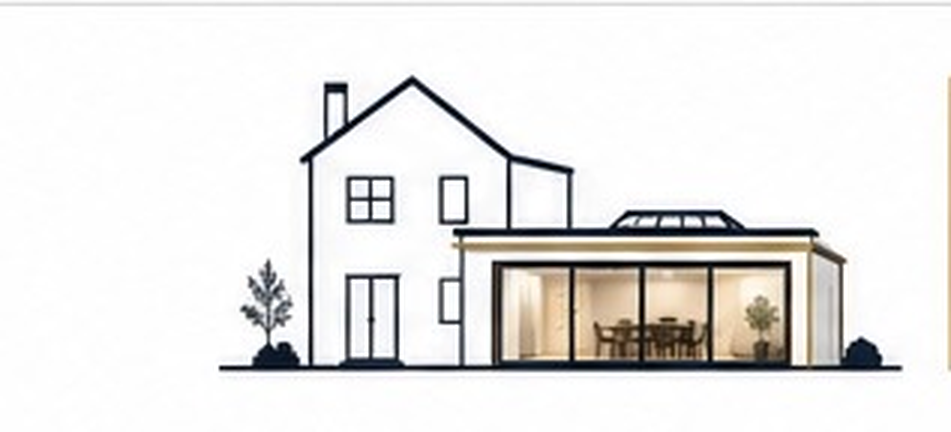
How big can a rear extension be under permitted development?
Discover the key size limits for rear extensions under permitted development, ensuring you maximize your space without planning hassles.
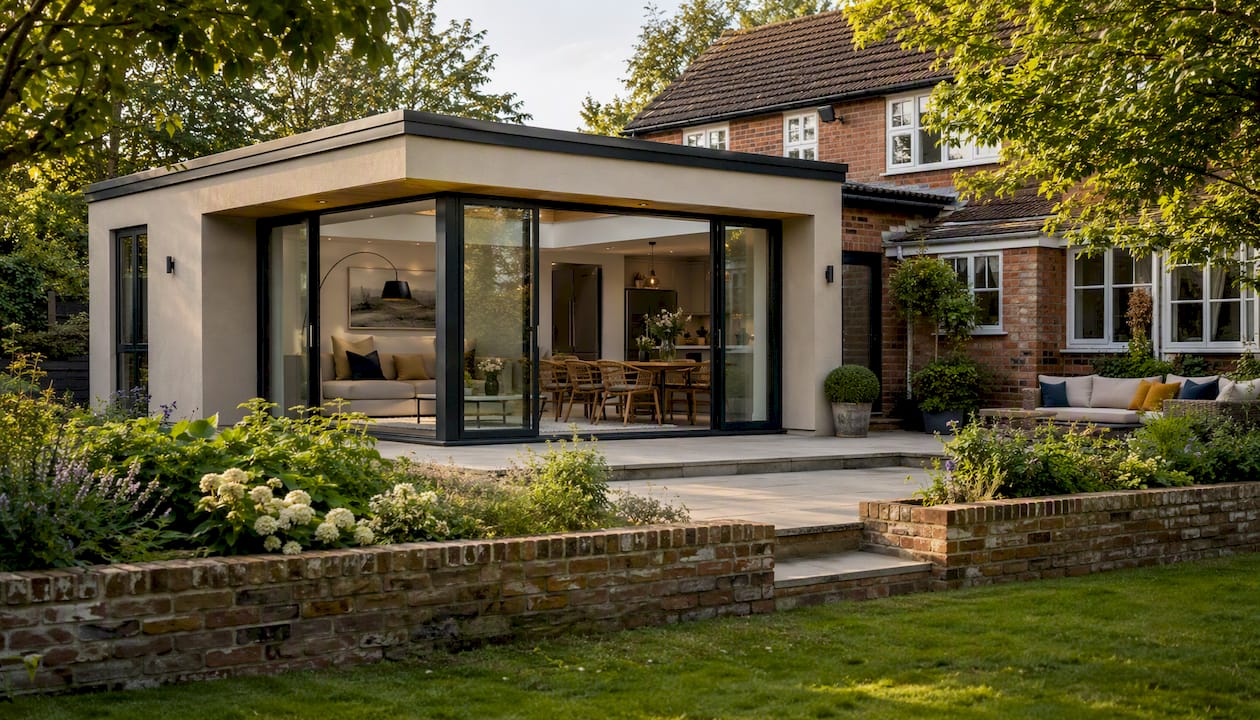
How big can a rear extension be under permitted development?
A single-storey rear extension can go up to 4 metres beyond the original rear wall on a detached house, or 3 metres on a semi-detached, terraced or link-detached house, capped at 4 metres in height. Get neighbour sign-off through prior approval and those figures stretch to 8 metres and 6 metres. Multi-storey rear additions are far tighter: 3 metres maximum, with a 7 metre gap from any facing boundary. None of this applies automatically if you’re on designated land, covered by an Article 4 direction, or living in a flat.
TL;DR:
- Most single-storey rear extensions are limited to 4 metres on detached houses and 3 metres on other house types, measured from the original rear wall.
- A prior approval process can extend these limits to 8 metres for detached and 6 metres for other houses, but it requires neighbour notification and impact assessment.
- Multi-storey rear extensions are strictly limited to 3 metres in depth and must be at least 7 metres from facing boundaries, often requiring full planning permission.
- Accurate measurement from the original rear wall, not recent additions, is crucial to avoid exceeding permitted development allowances or risking enforcement.
- Houses on designated land or within Article 4 directions lose some PD rights, especially in conservation areas, national parks, or for listed buildings, requiring full planning permission for extensions.
Table of Contents
- Single-storey rear extension size limits explained
- What are the size limits for a two-storey rear extension?
- How do you measure from the original house correctly?
- Height, eaves and boundary proximity rules
- Where do these size limits not apply?
- When do you need planning permission or a Lawful Development Certificate?
- A practical checklist before you commission any design
- How The Extension Works handles PD compliance for you
- What homeowners get wrong about PD limits
- Get a PD-checked quote for your rear extension
- Sources
Single-storey rear extension size limits explained
The numbers that matter most are 4 metres and 3 metres. Under Class A of permitted development (PD), a detached house can extend 4 metres beyond the original rear wall without planning permission. Every other house type, semi-detached, terraced, link-detached, is limited to 3 metres. Height is capped at 4 metres overall, and that’s measured from ground level, not from your damp course or an arbitrary internal floor line.
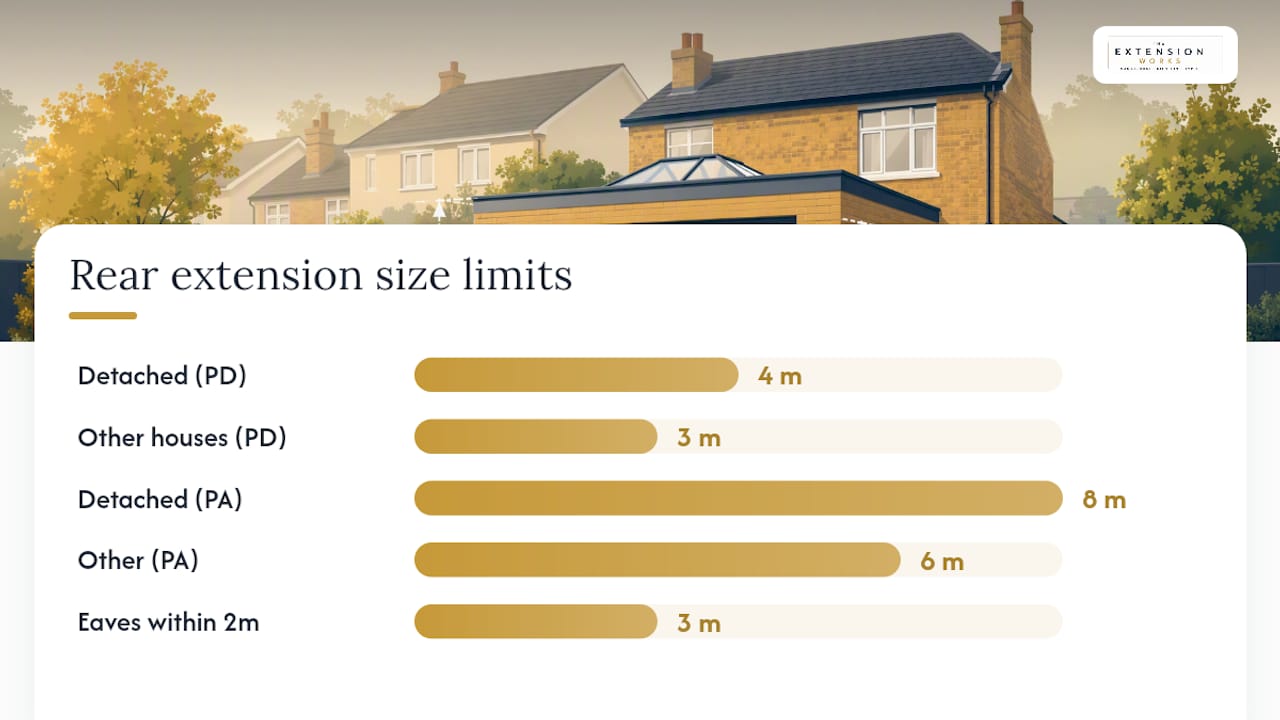
There’s a second height rule that trips people up constantly: if any part of the extension sits within 2 metres of a boundary, the eaves height in that zone cannot exceed 3 metres. Build a flat-roofed box hard against your neighbour’s fence and you’ll hit that ceiling fast, whatever your overall 4 metre allowance says.
The prior approval route roughly doubles your depth. Go through the neighbour consultation scheme (formally known as prior approval) and a detached house can reach 8 metres, other house types 6 metres, according to Gov. This isn’t automatic. Your council notifies adjacent neighbours, who have 21 days to object, and the local planning authority assesses impact on their amenity before granting or refusing approval, as detailed in guidance from Permitted-development.
Before you assume you qualify for either route, run through this:
- Confirm your house type (detached changes everything versus semi-detached or terraced).
- Measure strictly from the original rear wall, not from any wall added by a previous owner.
- Check whether you’re on Article 2(3) land or an SSSI, since prior approval doesn’t apply there.
- Work out whether any part of your design creeps within 2 metres of a boundary.
Planning Portal’s guidance on extensions has diagrams that make the measurement points far clearer than text alone, worth a look before you sketch anything.
What are the size limits for a two-storey rear extension?
Multi-storey rear extensions face a much stricter regime than single-storey ones, and it catches out a lot of homeowners who assume the same 4m/3m logic simply scales up. It doesn’t.
Under PD, an extension with more than one storey must not extend more than 3 metres beyond the original rear wall, full stop, regardless of whether the house is detached or terraced. On top of that depth cap, the enlarged part must sit at least 7 metres from any boundary opposite the rear wall, according to analysis of PD limits from Planwiser. On a standard suburban plot with a modest back garden, that 7 metre setback alone rules out PD for a lot of two-storey rear additions.
A few other conditions apply specifically to multi-storey work:
- Upper-floor side windows must be obscure-glazed and non-opening unless the opening part is at least 1.7 metres above the floor.
- Roof pitch on the new build should match the existing house as closely as practicable.
- Any side extension of more than one storey falls outside PD entirely and needs full planning permission.
- If you’re on Article 2(3) designated land, the multi-storey PD route isn’t available at all.
Given the 7 metre setback, most two-storey rear extensions on typical English plots end up needing a full planning application anyway. That’s not necessarily bad news. Full permission gives you more design freedom than PD ever does; you’re just trading speed for flexibility.
How do you measure from the original house correctly?
Get this wrong and every other calculation in this article collapses. The “original house” means the building as it stood on 1 July 1948, or as first built if constructed after that date, not the house as it looks today with whatever extensions previous owners bolted on.
That distinction has a direct practical consequence: any extension, conservatory or lean-to added before you bought the property still counts against your remaining PD allowance. PlanningGeek’s guidance on rear extensions makes the point plainly, an architect will always want to verify the original rear wall date and check what’s already been built, because a small conservatory added in the 1990s can quietly use up most of a semi-detached house’s 3 metre allowance.
Here’s how to work through it properly:
- Find the original rear wall using old title deeds, historic Ordnance Survey maps, or your council’s planning history search.
- Identify anything added since that counts as an enlargement, even a small single-storey lean-to.
- Subtract that existing depth from your 3m or 4m standard allowance (or 6m/8m if going through prior approval).
- If the rear elevation is stepped, treat each step as its own original wall for measurement purposes, since this is a genuinely common source of disputes according to PlanningGeek’s guidance.
- Get written confirmation from your local planning authority if any part of the history is unclear.
Pro Tip: Order your council’s planning history search before you commission any drawings. It typically costs a small fee and takes a couple of weeks, but it can save you from designing an extension that turns out to be illegal before the first brick is laid.
Height, eaves and boundary proximity rules
Overall height for a single-storey PD extension is capped at 4 metres, measured from the natural ground level immediately alongside the extension, not from an artificially raised patio or a sloped garden’s lowest point.
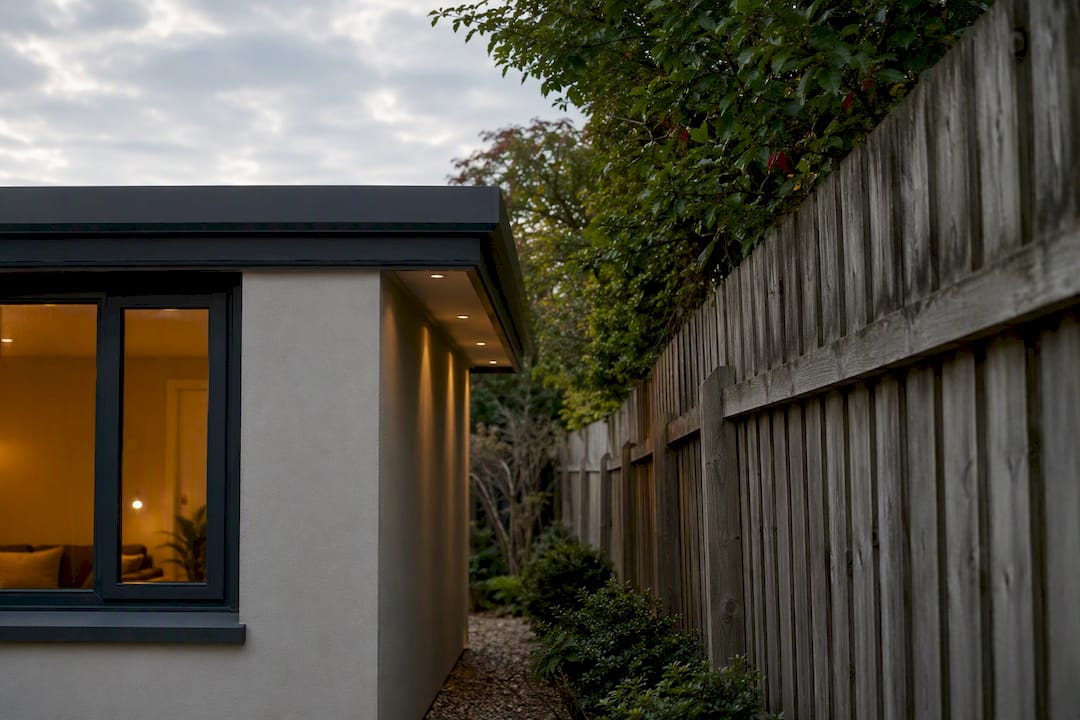
The rule that catches most people out sits closer to the fence line. Any part of the extension within 2 metres of a boundary must keep its eaves height at or below 3 metres, a constraint confirmed by guidance on eaves height and boundary proximity. Plenty of homeowners design a flat-roofed extension at full height across the whole depth, only to discover the section nearest the boundary breaches the 3 metre limit and needs redesigning.
This is where roof design becomes a genuine planning tool, not just an aesthetic choice:
- A lean-to or mono-pitch roof that steps down towards the boundary can hit 4 metres at the house and still respect the 3 metre eaves limit near the fence.
- Flat roofs are the most likely style to fall foul of the 2 metre rule, since there’s no natural taper to work with.
- Setting the extension back from the boundary by just over 2 metres removes the eaves restriction entirely, sometimes worth more to your design than the depth it costs you.
- A design that respects both height and light angles tends to satisfy neighbours during prior approval too, which matters if you’re relying on that route.
Pro Tip: If you’re building close to a boundary, ask your designer for a section drawing showing height at 2 metre intervals across the whole extension footprint. It’s the fastest way to spot an eaves breach before it becomes a costly on-site fix.
Where do these size limits not apply?
Permitted development rights aren’t universal, and assuming they apply to your property without checking is one of the most expensive mistakes a homeowner can make.
Article 2(3) designated land strips out the larger prior-approval allowances entirely. This covers conservation areas, National Parks, Areas of Outstanding Natural Beauty, World Heritage Sites and land within them. On this land, you’re stuck with the standard 4m/3m single-storey limits; the 8m/6m prior-approval route simply isn’t available, as GOV.UK’s technical guidance confirms.
Article 4 directions are a separate, more localised tool. Councils use them to remove specific PD rights, sometimes for individual streets or conservation areas, sometimes borough-wide. Dorset Council’s own explanation of Article 4 directions is a useful model for how these work anywhere in England: they’re published on the council’s planning pages, and they don’t always show up in a quick online search.
A few categories are excluded from these PD rights regardless of location:
- Flats and maisonettes have no PD rights for extensions at all; any rear addition needs full planning permission.
- Listed buildings lose PD rights for most alterations, extensions included, and need listed building consent.
- Land within the curtilage of a listed building can be restricted even if the building itself isn’t being touched.
Before you design anything, search your council’s planning portal for Article 4 directions and conservation area status against your postcode. It takes ten minutes and can save months.
When do you need planning permission or a Lawful Development Certificate?
PD rights are conditional, not automatic. Miss a single condition, wrong measurement, excess height, the wrong glazing on an upper floor, and the whole project falls outside PD, meaning it needs full planning permission whether you realised it or not.
Here’s the practical sequence to work through:
- Check every condition against your specific design, not just the headline depth figure. GOV.UK’s technical guidance lists them in full, and missing one is the single most common cause of enforcement trouble.
- If you’re using the prior approval route, expect the council to notify neighbours and assess amenity impact, loss of light, outlook and privacy, rather than the full range of planning considerations. Clear elevations and shadow diagrams genuinely improve your odds of a favourable outcome, as Permitted-Development.com notes.
- Apply for a Lawful Development Certificate if there’s any doubt at all. This is a formal council decision confirming your build is lawful under PD, and it’s the document mortgage lenders and future buyers will want to see.
- If your extension exceeds PD limits or permission gets refused, you can amend the design and reapply, or lodge an appeal with the Planning Inspectorate within six months of the refusal notice.
Unauthorised development can trigger an enforcement notice requiring demolition, so speaking to your LPA’s planning duty officer before you commit to drawings is worth the phone call.
A practical checklist before you commission any design
Work through this before you spend a penny on drawings or approach a builder.
- Search your council’s planning portal for Article 4 directions, conservation area boundaries and listed status against your address.
- Establish the original rear wall using title deeds, historic maps or a formal planning history search from your LPA.
- Log every existing extension or conservatory and subtract its depth from your available PD allowance.
- Measure precisely from that original wall, at ground level, accounting for any boundary proximity within 2 metres.
- Decide your route: standard PD, prior approval, or full planning permission, based on the figures you’ve just established.
- Gather your evidence pack: deeds, past planning decisions, site photographs and measured drawings.
- Contact your LPA’s duty planning officer to sanity-check your findings; most councils offer this free, with a written response inside a few weeks for straightforward queries.
Our guide to rear extension planning rules walks through this in more depth if your site has any unusual constraints, sloping gardens, shared access, or an oddly shaped plot.
Pro Tip: Take dated photographs of your rear elevation and garden before any work starts, even for a project you’re confident sits within PD. If a dispute ever arises over what existed on 1 July 1948 or what a previous owner added, that photographic record becomes your strongest evidence.
For a broader view on managing the process end to end, Complete Property’s guide to planning a house extension is a solid independent resource worth reading alongside official guidance.
How The Extension Works handles PD compliance for you
Working out whether your project fits standard PD, needs prior approval, or requires full planning permission is genuinely difficult to get right from a kitchen table with a tape measure. The Extension Works builds that verification into the process from day one, rather than leaving it to guesswork.
You start with an instant online quote and live 3D modelling, so you can see your extension against your actual property before committing to anything. The in-house team then checks your PD eligibility, confirms the original rear wall, and handles the prior-approval neighbour consultation where it applies, backed by full architectural drawings and structural calculations. Pricing is fixed and VAT-inclusive from the outset, and every completed project carries a 12-month workmanship warranty.
This kind of managed approach suits busy homeowners who don’t have weeks to spend cross-referencing council planning portals, and it suits anyone on a tighter site, near a boundary, close to a conservation area boundary, where a measurement error carries real cost. You can browse real completed projects in the gallery to see how these constraints play out on actual houses.
What homeowners get wrong about PD limits
Most guides treat permitted development as a simple lookup table: check your house type, read off a number, build to it. That’s the wrong mental model. The real constraint on most English properties isn’t the headline 4 metre or 3 metre figure; it’s what’s already been built.
A semi-detached house with a 1980s single-storey extension has already spent a chunk of its 3 metre PD allowance before the current owner even measures anything. Conventional advice glosses over this because “original rear wall” sounds like a formality rather than the single most consequential phrase in the whole regulation.
If you take one thing from this article, make it this: verify the history before you fall in love with a design. Prior approval and its 6m/8m allowance get most of the attention because the numbers are bigger and more exciting, but they solve a different problem to the one most homeowners actually have. The cumulative additions issue catches far more people out than the neighbour consultation process ever does, and it’s entirely avoidable with a bit of homework before the tape measure comes out.
— Esskay
Get a PD-checked quote for your rear extension
There are other ways to approach this: hire an architect to survey the site, commission a planning consultant separately, then find a builder once the paperwork clears. That route works, but it can take months and several separate invoices before a single wall goes up.

The Extension Works folds all of that into one process. Its instant online quote tool checks your property against PD rules, models your extension in live 3D, and hands you a fixed, VAT-inclusive price, all before you’ve spoken to a single contractor. The same in-house team that draws your plans handles prior-approval submissions where they’re needed, produces the structural calculations, and manages the build through to sign-off, backed by a 12-month workmanship warranty. One point of contact, one fixed price, no separate quotes to chase down.
If your rear garden and house type suggest you’re within reach of the 4m/3m standard limits, or the 8m/6m prior-approval route, get an instant quote and see the design and price side by side before you commit to anything.
Sources
Before finalising any design, check these directly against your own property.
Recommended
- Permitted Development & Extension Rules 2026 — How Big Can You Build? | The Extension Works
- Rear extension planning: UK rules and local guide 2026 — The Extension Works
- Small rear extension ideas that maximise light and value — The Extension Works
- Single storey rear extension design: planner-friendly ideas — The Extension Works