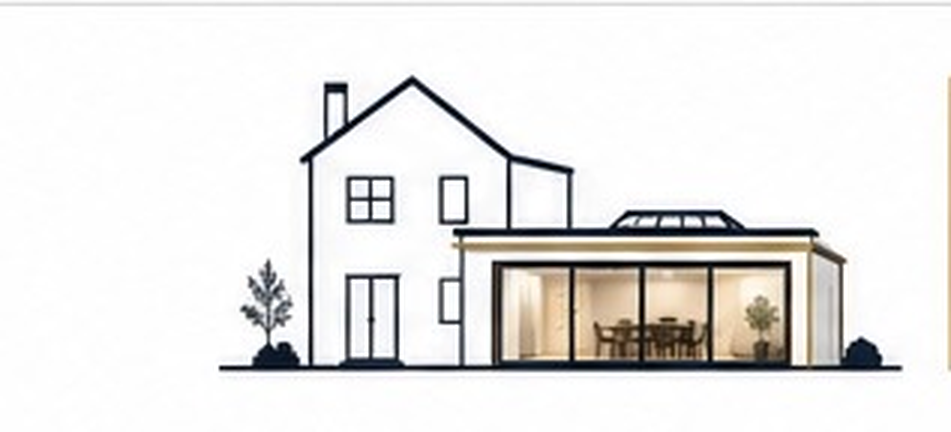
Instant Quotes and Buildable Single Storey Rear Extension Ideas
Buildable single storey rear extension ideas, realistic costs, PD limits, and 3–5 month build timelines. See fixed VAT inclusive quotes and live 3D models.
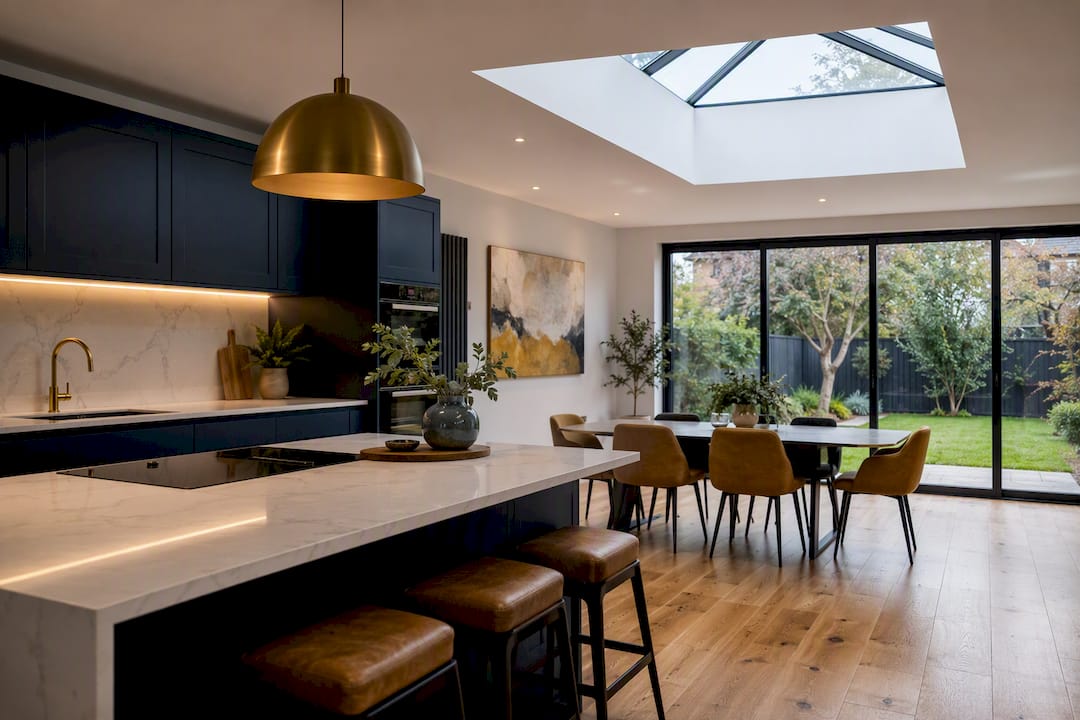
Instant Quotes and Buildable Single Storey Rear Extension Ideas
For most terraced and semi‑detached homes, the best single storey rear extension is either a rear infill, a side return, or the two combined into a wrap‑around, chosen once you know how you’ll use the space. Measure your garden depth and rear wall projection first, then check permitted development limits before sketching anything. That single check saves weeks of wasted design work.
TL;DR:
- Most rear extensions should be limited to 3 meters for terraced or semi-detached homes unless planning permission is obtained for larger sizes.
- Prioritize layout and design choices based on property orientation, daylighting, and budget rather than online trends or superficial appearance.
- Costs for a well-finished, 4m x 5m extension start around £30,000, with higher-end finishes reaching up to £2,400 per square meter.
- Build time typically spans three to five months, with the most disruptive phases being structural work and glazing installation.
- Use an instant quote tool to compare design options, get fixed prices, and streamline planning and construction under one managed team.
Table of Contents
- Single storey rear extension ideas worth building
- Planning permission and permitted development limits
- Roof, daylight, and glazing choices that avoid a dark middle room
- What does a single storey rear extension actually cost?
- How long does a build take and how disruptive is it?
- How The Extension Works delivers your rear extension
- Structural considerations and foundation types
- Materials selection and sustainability options
- Insulation and energy efficiency for rear extensions
- Making the extension look like it belongs
- Underfloor heating and extending your heating system
- Getting the interior layout right
- A short decision framework for choosing your idea
- Try an instant quote before you commit to a design
- Sources
Single storey rear extension ideas worth building
The right idea depends less on Pinterest boards and more on how your house sits on its plot. A narrow Victorian terrace with a side return alley needs a different answer to a 1930s semi with a deep, wide garden. Here’s what actually gets built, in rough order of how often homeowners choose it and why.
1. Open-plan rear extension for kitchen-diners
This remains the default choice, and for good reason. Extending straight off the back of the house to create one open kitchen, dining, and family space suits almost any house type, but works best where the existing kitchen already sits at the rear. Glazing should run along the garden-facing wall rather than the sides, and the kitchen island typically sits closest to the new opening so cooking doesn’t dominate the sightline from the garden. Homeowners commonly choose rear extensions precisely to connect the kitchen to the garden this way.
2. Full-width flat roof with a large lantern
Running the extension the full width of the house with a flat, warm roof and a central lantern maximises floor area and light in one move. Spend the budget here on the lantern rather than a bigger footprint if you’re tight on cash. It suits wider plots where a pitched roof would look bulky against the original house.
3. Side return infill
If you’ve got a narrow side alley running down the length of the house, filling it in adds surprisingly usable floor space without touching the garden at all. It’s the least disruptive option for a small plot and often the cheapest per square metre because you’re building against two existing walls.
4. Wrap-around extension
Combine a side return with a rear extension and you get an L-shaped footprint that reworks the entire ground floor, not just one room. It generally needs planning permission and costs more than a simple rear box, but it delivers the largest realistic floor area a single storey project can offer.
5. Garden room or home office annex
A smaller, permitted-development-friendly structure detached from or lightly linked to the main house works well as a home office or snug. Keep it simple. This is where cost-per-square-metre gets punished for over-specification, so stick to sensible finishes.
6. Pitched roof with a vaulted ceiling
Trading the flat roof for a pitched form with an exposed vaulted ceiling adds real drama and a sense of volume, especially in a kitchen-diner. It costs more than a flat roof equivalent and eats into planning height allowances faster, so check clearances early.
7. Bifold, sliding, or slimline door choices
Bifolds suit a wide opening you want fully thrown open in summer. Sliding doors give a cleaner sightline when closed and cost less for the same width. Slimline sliders sit between the two, with narrower frames than standard sliders but a smaller price jump than bifolds.
8. Matching or contrasting façades
Brick-matching the extension to the host house is the safer, lower-maintenance route, particularly under permitted development where similar appearance is often expected. A contrasting material, zinc cladding or render against brick, makes a bolder statement but usually needs full planning consent and more upkeep over time.
Pro Tip: If your garden is under 8 metres deep, don’t chase a full‑width extension purely for the square metreage. A well‑lit side return often feels bigger than a poorly lit rear box twice its size.
Planning permission and permitted development limits
Before you commission drawings, check whether you can build under permitted development or need full planning. It changes your timeline and budget substantially.
- Single storey rear extensions typically qualify for permitted development up to 3 metres deep for attached (semi-detached and terraced) houses, or 4 metres for detached houses.
- The Larger Home Extension (prior-approval) route can stretch those depths significantly for attached and detached houses respectively, but it requires formal neighbour consultation before approval.
- Maximum height near a boundary is generally capped around 3 metres, with the whole roof usually staying under 4 metres for a single storey structure.
- Conservation areas and listed buildings often remove permitted development rights entirely, so check your council’s planning portal before assuming PD applies.
- Measure your original rear wall (not the current one, if there’s been a previous extension) since PD allowances are calculated from that baseline.
- A party wall agreement is usually needed if you’re building near or on a shared boundary with a neighbour, regardless of which planning route you take.
Our guide to rear extension size limits breaks down these thresholds house type by house type if you want the specifics for your plot.
Roof, daylight, and glazing choices that avoid a dark middle room
A flat, warm roof is the workhorse choice: cheaper than a pitch, easy to fit rooflights into, and low-profile against most rear elevations. A pitched roof with a vaulted ceiling adds height and drama but costs more and eats into your PD height allowance faster.
- Multiple smaller rooflights spread light more evenly than one large lantern and reduce glare and overheating risk according to many architects’ recommendations.
- Frameless or structural glass roofs suit smaller extensions where you want an almost invisible roofline, though they carry a real cost premium.
- Position glazing and rooflights to avoid a long, dark middle room by carrying light through with internal glazing and broken-plan zoning rather than relying on the back wall alone.
- Solar control glazing and external shading (brise soleil, deep overhangs) help manage summer heat gain, particularly on south-facing rear elevations.
- Openable rooflights or high-level windows give you a stack-ventilation route that pulls hot air out without opening every door.
Rooflights and glass roofs can often be installed under permitted development, which is one reason they’re now the default rather than the exception in rear extension design. Our flat roof versus pitched comparison goes deeper into the thermal trade-offs if you’re still deciding.
What does a single storey rear extension actually cost?
Budgets vary enormously by finish level, and the biggest mistake homeowners make is pricing off a friend’s project without adjusting for spec. Work in bands, not a single number.
- Basic-quality builds start around £30,000 for a 4m x 5m footprint, excluding many professional fees and the kitchen fit-out.
- Per-square-metre rates run from roughly £1,500 up to £2,400 per m² for excellent-quality finishes.
- Budget for an architect, a structural engineer, and building control fees on top of the build cost. These aren’t optional extras you can skip to save money.
- Set aside a 10 to 15% contingency before you get quotes, not after you’ve spent it on upgrades.
- Prioritise spend on glazing and the kitchen fit-out. These are what homeowners actually notice day to day, while structural openings and waterproofing are where corner-cutting causes real damage later.
Worth knowing: cost per square metre tends to drop as footprint grows, so an extra metre of depth can improve overall value rather than just adding to the bill.
How long does a build take and how disruptive is it?
Most single storey rear extensions run three to five months on site, though complexity and access can stretch that.
- Groundworks and foundations typically take two to three weeks, weather and access permitting.
- Structural walls, roof, and glazing installation run four to six weeks and are the most disruptive phase for dust and noise.
- First fix services, insulation, and plastering take another three to four weeks before the space is usable.
- Second fix, flooring, and decoration close out the project, usually two to three weeks.
Complete surveys and finalise your specification before work starts. Changing your mind mid-build is the single biggest cause of delay. Early conversations with neighbours about access and noisy phases go a long way toward keeping things civil next door.
How The Extension Works delivers your rear extension
The Extension Works gives you an instant online quote and live 3D modelling, so you see your extension before committing a penny. Pricing is fixed and VAT-inclusive, with one in-house team handling design, planning, and construction under a 12-month workmanship warranty. It suits busy professionals and families who want a managed, single point of accountability rather than juggling separate architects, builders, and planning consultants.
Structural considerations and foundation types
Most single storey rear extensions sit on strip foundations or trench-fill concrete, poured to a depth your structural engineer sets after a soil survey, typically 1 metre or deeper depending on ground conditions. Where trees sit nearby, or the ground is clay-rich and prone to movement, engineers often specify deeper foundations or a piled solution to avoid seasonal heave and shrinkage cracking later.
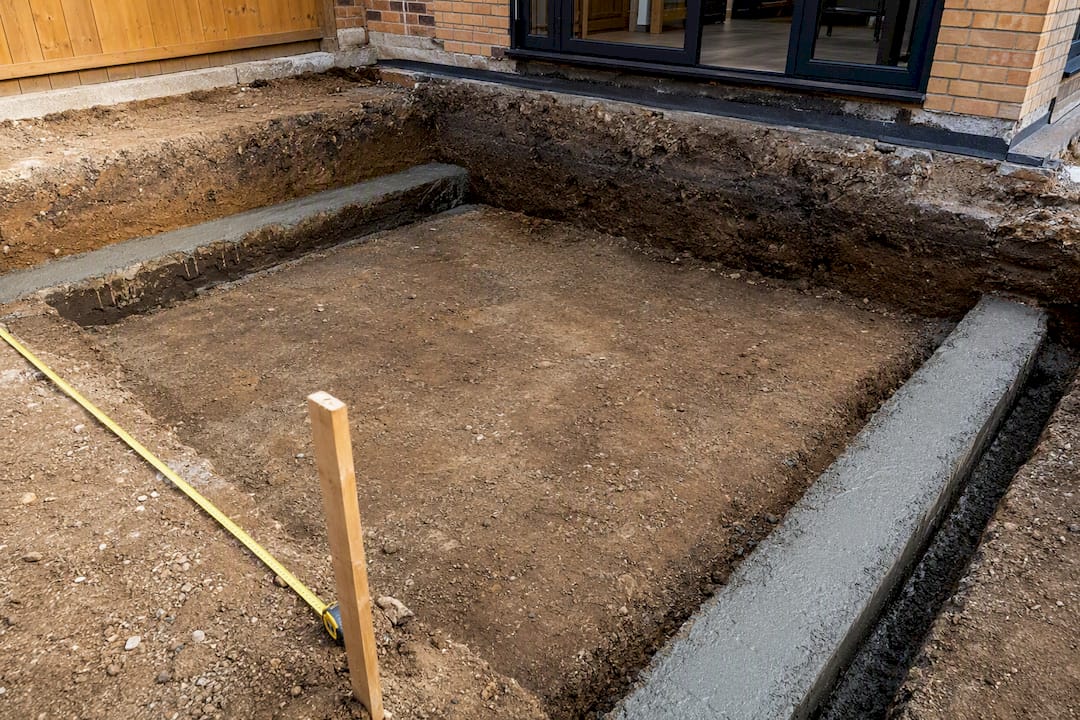
Structural openings between the old house and new extension matter as much as the new build itself. A steel beam (RSJ) usually carries the load where you’re removing a chunk of the original rear wall, and its size depends on the span and what it’s supporting above. Get this calculated by a structural engineer rather than guessed by a builder, since undersizing it is one of the more expensive mistakes to fix retrospectively.
Set your finished floor level early in the design process. Getting this wrong means either an awkward step down into the garden or water pooling against the threshold. A flush threshold with a channel drain handles water dispersal properly while keeping the transition to the garden level and accessible, which matters if you want the extension to genuinely blur the line between inside and out rather than just look like it does in the render.
Building control will want to see calculations for all of this before work starts, not after, so build in time for structural drawings alongside your architectural plans.
Materials selection and sustainability options
Brick remains the default façade choice for a reason: it’s durable, low maintenance, and, where you’re relying on permitted development rights, matching the existing house in appearance is often expected by planning officers. Render offers a cheaper, quicker alternative with a cleaner look, but needs recoating every decade or so and shows cracking more readily than brick.
Timber cladding and composite panels have become common on contemporary rear extensions, particularly where the design leans away from matching the original house and toward a deliberate contrast. Both need more thought about maintenance than brick, timber especially, unless you choose a factory-treated or naturally weathering species.
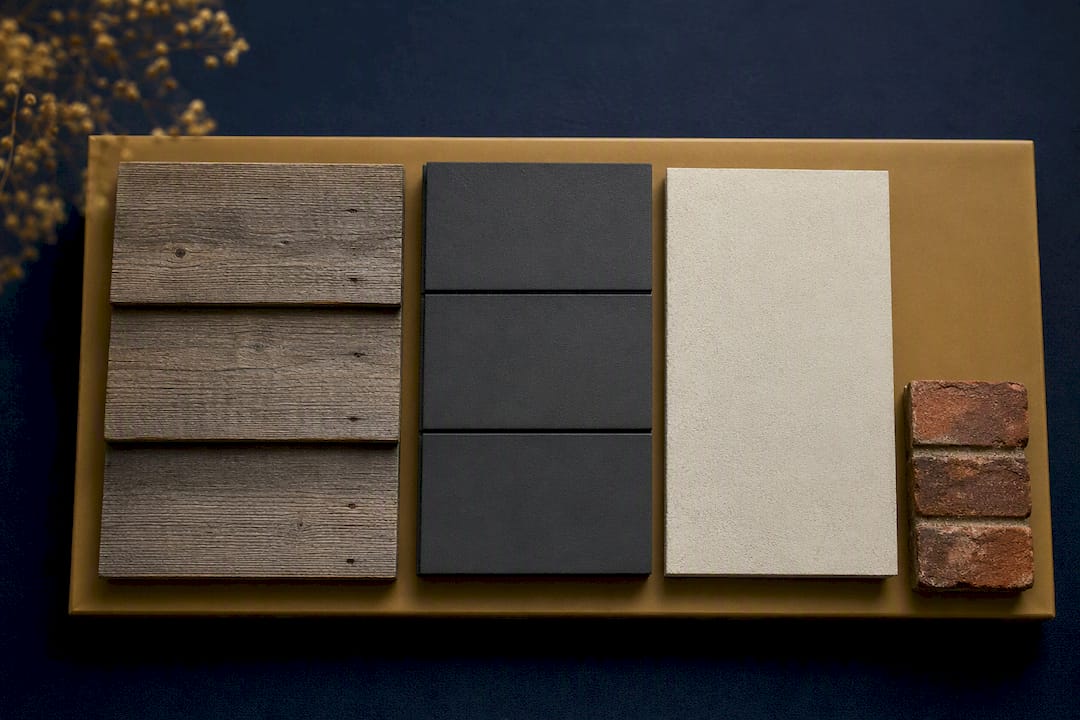
Sustainability choices worth considering at design stage include timber-frame construction over traditional masonry, which cuts embodied carbon and speeds up the build programme, and recycled or low-carbon concrete blocks for the foundation and blockwork. Triple glazing costs more upfront than double glazing but pays back over years in reduced heat loss, particularly relevant given how much glass a typical rear extension carries.
None of these choices need to compromise the finished look. A timber-frame structure clad in brick slips is visually indistinguishable from solid masonry once complete, so sustainability and matching the existing property aren’t mutually exclusive goals.
Insulation and energy efficiency for rear extensions
Building Regulations set minimum insulation standards for new extensions, and a well-built single storey addition should comfortably beat the standard of the original house it’s attached to, since it’s built to current thermal requirements rather than whatever standard applied decades ago.
Warm roof construction, where insulation sits above the structural deck rather than between rafters, is now the standard approach for flat roofs and avoids the cold bridging and condensation risk that older cold roof designs suffered from. For pitched roofs with a vaulted ceiling, insulation between and over the rafters needs careful detailing to avoid thin spots where heat escapes.
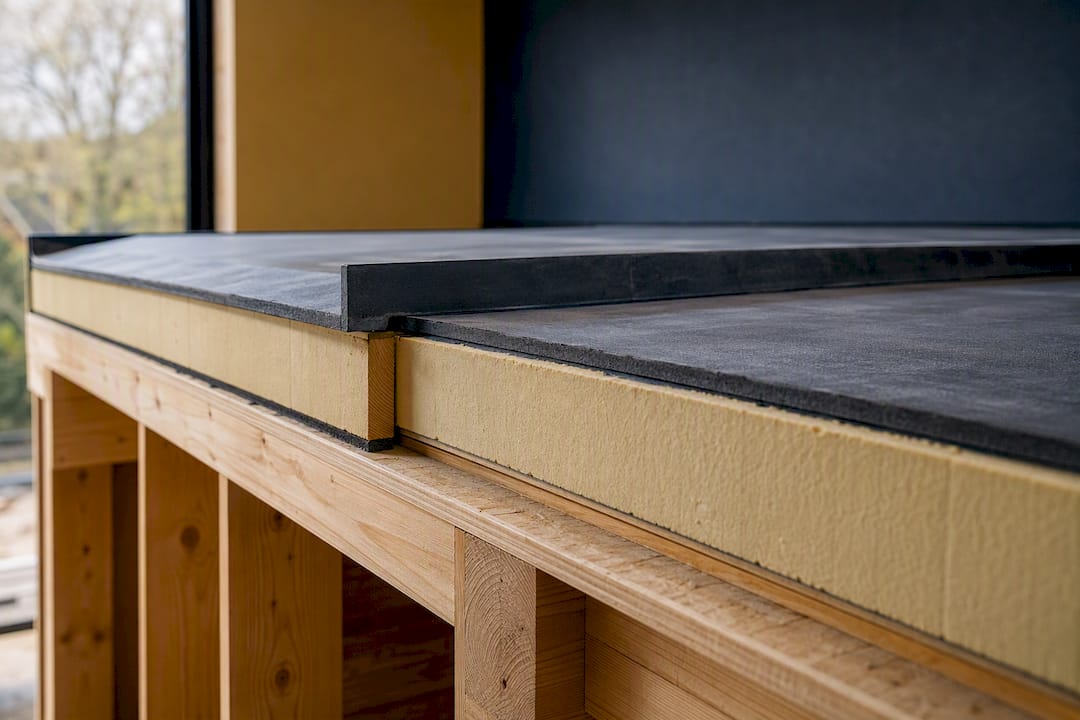
Floor insulation matters more than most homeowners expect, particularly if you’re installing underfloor heating, since heat pushed downward into an under-insulated slab is heat you’re paying to lose into the ground. Triple-glazed doors and windows reduce heat loss through what is typically the largest glazed area in the house, and thermally broken frames stop cold bridging at the frame itself.
Airtightness detailing around the junction between old and new construction is where energy efficiency projects often fall down in practice. Get this taped and sealed properly during the build, because retrofitting airtightness after plastering is far harder and rarely done well.
Making the extension look like it belongs
The best rear extensions don’t look bolted on. Roofline height, brick bond, and mortar colour all need matching or deliberately contrasting on purpose, not by accident. Where you’re claiming permitted development, similar materials are generally expected by planning officers assessing the appearance requirement.
Window proportions matter more than most homeowners realise. Tall, narrow windows on the original house look wrong paired with a wide picture window on the extension unless the design deliberately signals a contemporary addition against a traditional host. Decide early which approach you want: seamless continuation or honest contrast, and carry that decision through every material choice rather than mixing the two by accident.
Roof pitch and eaves height are the details that give an extension away from the street or a neighbour’s upstairs window. Keeping the extension roof low and set back from the original house’s roofline helps it read as subordinate to the main building, which both looks better and keeps you within permitted development height limits more easily.
Underfloor heating and extending your heating system
Underfloor heating suits a rear extension particularly well because you’re already lifting the floor to install a new slab or suspended floor, so there’s no retrofit penalty. It also frees up wall space that radiators would otherwise occupy, useful when you’re trying to maximise glazing and worktop runs in a kitchen-diner.
Wet systems, pipes embedded in a screed layer over the insulated slab, run more efficiently at lower water temperatures than radiators and pair well with a heat pump if you’re upgrading your heating system at the same time. Electric underfloor mats cost less to install but more to run, so they suit smaller areas like a snug or home office rather than a full kitchen-diner.
Extending your existing boiler or heat pump system to cover the new floor area is usually straightforward, but get a heating engineer to check your boiler’s output capacity before assuming it can cope. A system sized for the original house alone may need upgrading to comfortably heat the extra square metreage, particularly if the extension carries a large glazed area that loses heat faster than solid wall.
Getting the interior layout right
Zoning within an open-plan extension matters more than the headline square metreage. Broken-plan layouts, where a half-height wall, a change in floor level, or a run of joinery separates the kitchen from the dining and living zones, work better in practice than one uninterrupted box, because they give each activity a sense of its own space without sacrificing the connected feel.
Kitchen island placement deserves real thought rather than defaulting to the centre. Positioning it closer to the original house, rather than against the new glazed rear wall, keeps sightlines to the garden clear from the dining and seating areas and stops the cook from having their back to guests.
Storage tends to get squeezed out of rear extension plans in favour of glazing, and it’s usually the wrong call. Built-in banquette seating with storage beneath, full-height larder cupboards flanking the opening back to the original kitchen, and a proper utility nook tucked off the main space all earn their footprint far more than a few extra centimetres of open floor.
Our interior workflow guidance for UK homes covers layout planning in more depth if you’re working through furniture and storage decisions alongside the build itself.
A short decision framework for choosing your idea
Work through this in order: define the room’s use, check daylight and orientation, confirm your PD limits, then set a realistic budget with contingency. A snug facing north needs a different glazing strategy than a south-facing kitchen-diner, and that decision should come before you fall in love with a lantern roof you saw online. Get the sequence right and the design choices sort themselves out.
— Esskay
Try an instant quote before you commit to a design
The Extension Works cuts out the weeks of waiting most homeowners face just to get a first number back from an architect or builder. You get an instant online quote with live 3D modelling, so you can see genuine design variants for your own rear wall and garden depth, not a generic mock-up, and a fixed, VAT-inclusive price attached to each one.

Use the Instant Extension Quote Tool to compare an open-plan rear box against a side return or wrap-around for your actual house, side by side, before you spend anything on architect’s fees. If a figure works for you, the same platform carries you straight into booking a consultation with the in-house team who’ll handle planning, building control, and construction under one roof, backed by a 12-month workmanship warranty. Check your own numbers on the quote page and see what your rear extension could look like this week, not next month.
Sources
- Single storey extensions: the complete design guide - Composition Design Architects | London
- Single storey extensions: costs, how to plan + design ideas — Real Homes
- Single storey extension ideas - Livingetc